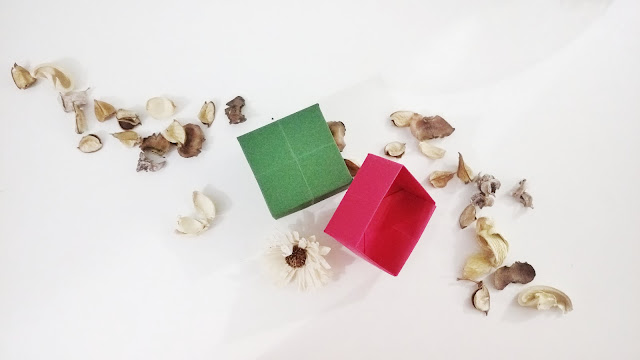
Holiday Edition : DIY gift box
Everything pretty comes in a box. But, what if you want to
gift something personalised and don’t find a box just right for it? MAKE ONE!
Here is a super easy way to make an origami box. It just
requires a little folding and resizing and you are done. Let’s get into the procedure
You will need:
·
Craft paper (thicker than writing paper so that
the box is rigid enough to hold the present).
·
Scissors.
·
Ruler.
·
Pen/Pencil (for marking purposes).
·
Tape/glue.
How to :
·
You will need a square sheet. If you have a
rectangular sheet fold it from the top right corner like shown and cut along
the edge to make a square.
·
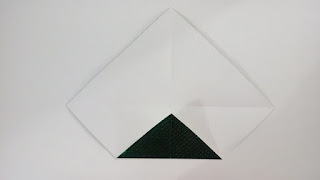
Fold the opposite corners together to look like this.
·
Fold any one corner towards the centre. Do the
same for all four corners.
·
Open up the paper and fold any corner like shown.
Do this to all four corners.
·
Open up the paper and you should have a square
in the centre. Now cut along the marked lines.
·
Your paper should be looking like this by now. Fold
any corner a little like shown. Do this for both the uncut corners. Fold a
longer section to the same corners like so.
·
You will have flaps to the right and left of
both folds. Overlap them as shown. Push them up to make a box like structure.
·
Now take the longer flap and fold it over the
structure created .Tape/glue it down to secure it from moving.
·
Make two boxes for one to act as the bottom and
the other as the lid.
·
Personalise to your choice and VOILA ! you have a beautiful
gift box
You can find the requirements at any nearby stationary
store or at : amazon
Until next time
Polý agape (lots of love) and stay cheerful :) !


0 comments