
DIY Upcycled Side Table Decor .

HEY Kyfam !
Today I’ll be showing
you how to refresh your side table decor without going out and buying a bunch
of stuff because all things in today’s post need upcycled material .
LEGGO
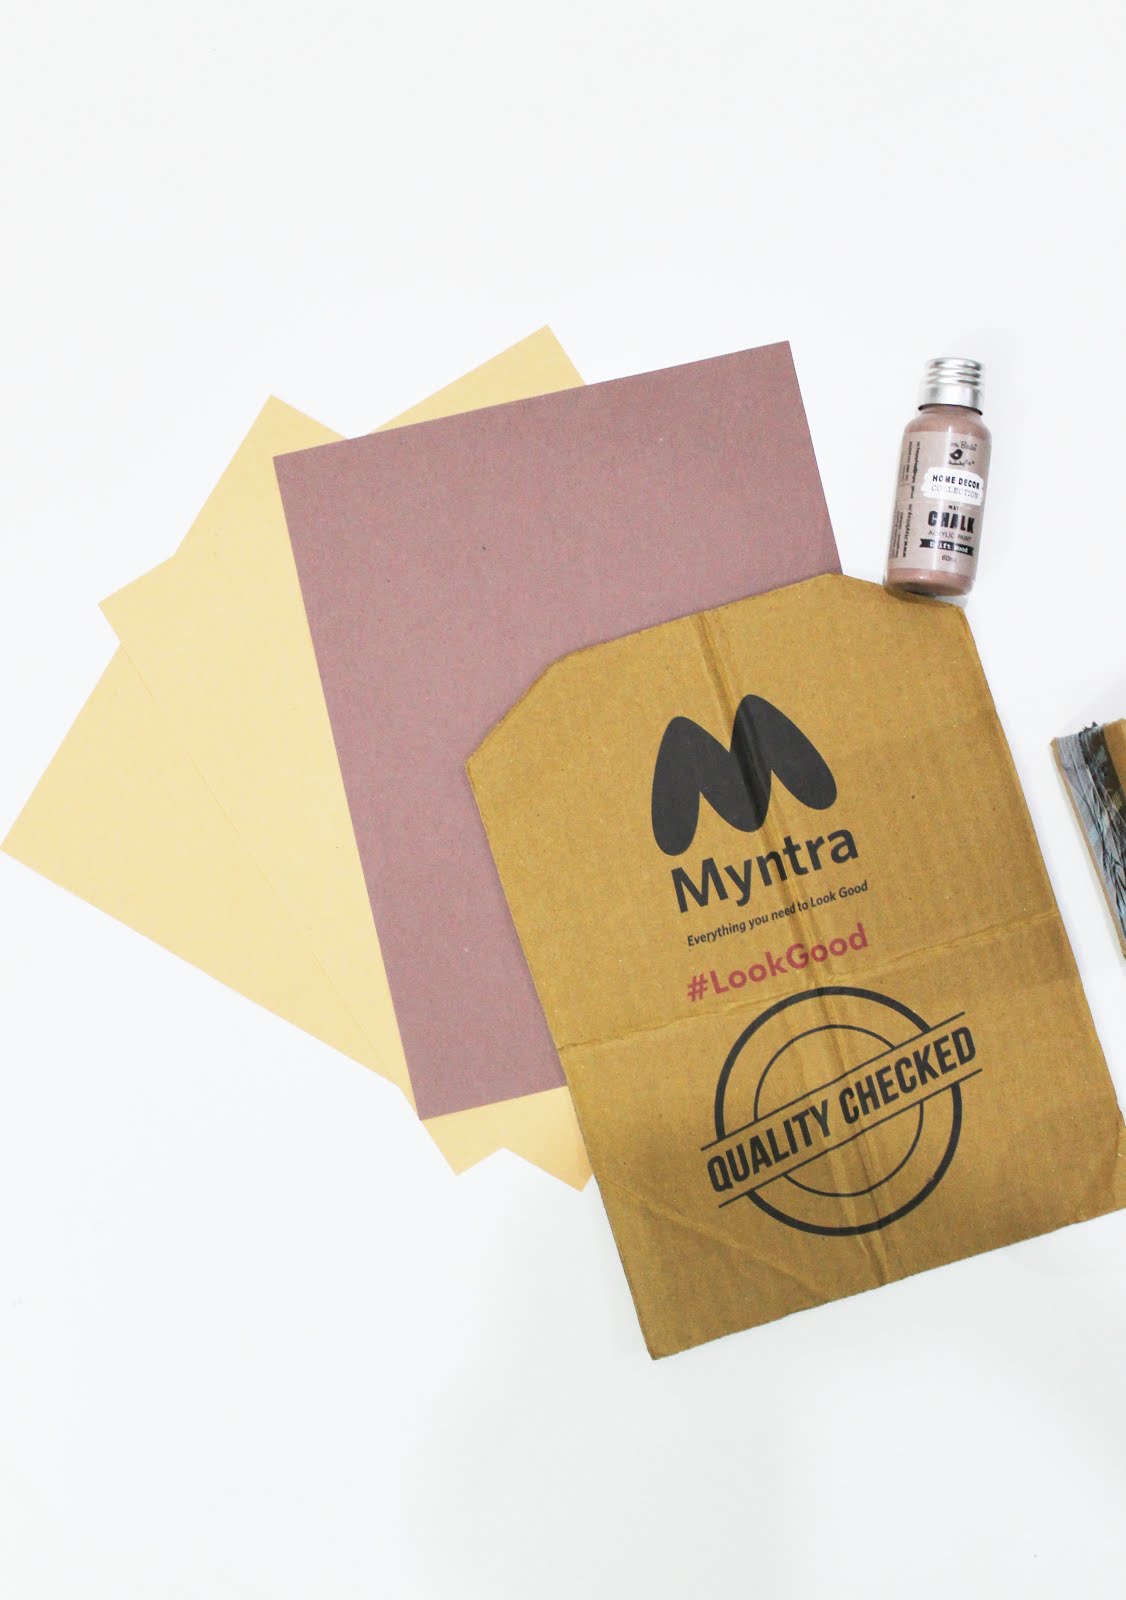
You’ll need :

Here I am upcylcing a shirt cardboard and a box that came
with a cream I ordered. I am sure you’ll find something alike lying around at
home . Getting into the first DIY.
1.
Pin Up / Notice Board :
Take
a cardboard which comes along with a shirt when you purchase it , if it
isn’t sturdy enough layer multiple of them together .
Cover it with craft paper of choice .

I love details so I added a twine border with
the help of a glue gun to match the
other table decor and added a little bow on top .

2.
Essentials Holder : This is my favorite upcycled
item so far as it keeps all my essentials stored in a place and easily accessible
.I keep my go to things in this holder and it saves me so much time .

Take the box and cover the bottom half of it up
in glue , now wrap the twine around it to cover it completely .
Glue down the flaps ( you
can fold them in or cut if you prefer to do so ) . 
I painted the flaps with chalk paint , this
paint allows you to write on it and is easily erasable . You can decorate the
holder with embellishments.


This is the unpainted side , I think it looks pretty this way too .


And VOILA you have got yourself a lovely looking
and accessible side table decor. I spend most of my time beside this table so ,
this DIY helped me a lot . I got to put all my reminders on the pin up board
and all my essentials in the holder .


Hit on the follow button to get notified every
time I post and leave a comment below if you
loved this upcylced DIY .
P.S : All my art supplies are from the ITSY BITSY store .
Until next time
Polý agape (lots of love) and stay cheerful :) !


0 comments